Got the projector of your dreams and have no money to pay for the screen immediately? What if I tell you that you don’t need a projector screen to have your little home theater? The projector can show content with or without a screen.
The projector indeed makes a better image on the screen. However, if you don’t have one you can still watch the movies without the “actual” projector screen.
What do most people do when they either don’t have a projector screen or can’t afford to pay the cost of a projector screen to make a DIY screen?
There are several ways to make a DIY projector screen, here are the few proven to show content better;
DIY Projector Screen Options
There are many types of Projector screens. However, the most common ones are curtain screens and painted screens.
The most trusted, common, and easiest of the above-mentioned options is the painted screen. So, if you do not want to do and spend much, there might not be any better option. Let’s find out how you can make it home;
1. DIY Painted screen
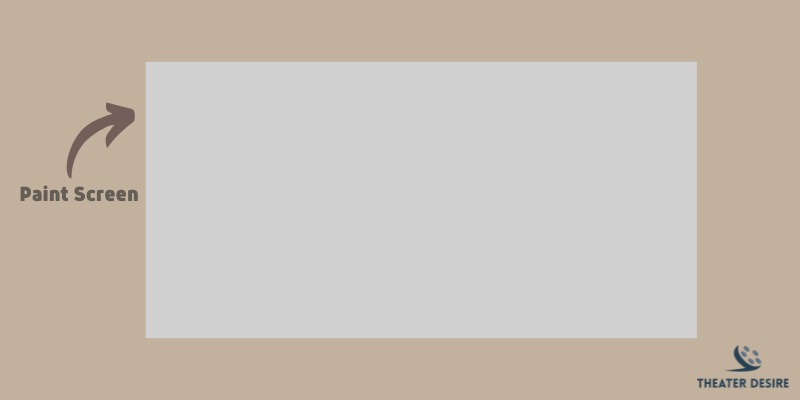
To make a painted screen all you would need is fresh white-gray or light-gray paint, a clean brush or a small paint roller, and tape.
- Take a look around: You first have to install the projector in a place, wherever it works best. Make sure the wall that you are turning into a projector is smooth and even. Otherwise, it would not serve you well.
- Turn on the projector to find a spot: Once the projector is secured to its place, turn it on. The projector will put light on the wall, mark the area where the projector places its light on
- Use tape to determine the length and width of screen: Make borders using the tape, it would prevent the mess and help you make a perfect painted projector screen.
- Prepare the surface: Apply primer it will allow the paint to adhere and last long
- Take fresh white-gray or light-gray paint and a clean brush. Both of the shades are equally good. So, whichever shade you can get easily, go for it.
- Paint: Now paint the marked area to perfection. Be ready to apply several coats, if one coat does not seem enough. Make sure the paint is even, otherwise, the uneven paint will distort the image on the wall. So be extra careful, if you think you can paint evenly, get it done by a professional
- Let the paint dry: Leave the newly painted area to dry
- Check and enjoy: Once the painted area is completely dried, turn on the projector again, play, and enjoy
2. DIY Curtain or fabric projector screen
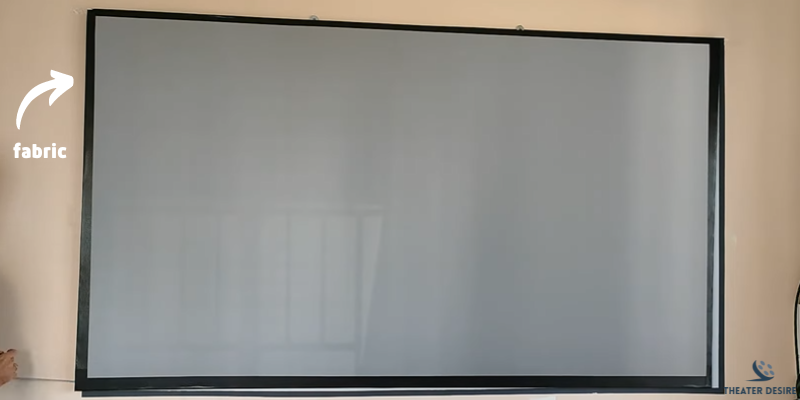
If you do not want to ruin the wall, a curtain or fabric screen is one fine option. It’s important to clarify here that you do not have to turn a curtain into a screen, the screen would rather be made of cloth.
That’s the major reason why it is referred to as a fabric screen. Here’s how you can craft it to perfection;
- Have necessary material: Take a white sheet, curtain backing, white canvas, or a thick black cloth, whatever is feasible for you.
- Cut the fabric: Now cut the fabric according to your screen size requirements.
- Hang it up: Once the fabric is cut according to the requirements, it’s time to hang your screen backdrop. What can be a better option than the clothesline? It is an economical and easy setup. Use the clothespin to secure the blackout cloth: Since you are working with the blackout cloth, hold the panels in place using the clothespin.
- Fasten it up: Fasten the panels on the clothesline removing all the creases
If you are going to use it for indoor entertainment purposes, your job is done. However, if it’s for outdoor use (which usually it is for), there are two more steps;
- Have a PVC pipe: Take a PVC pipe and cut it taking the measurements of the bottom of the curtain screen.
- Attach it to the screen: Attach the PVC pipe to the bottom of the screen to prevent it from getting affected by the breeze.
- Congratulations! You did it: The curtain screen is done. The fabric projector screen is easy to wash.
The other least common yet working solutions
Frankly, the painted and the curtain screens are not the only options. The movie lovers have a million other ideas as well. Here are a few;
3. DIY Curved projector screen
The curved projector screen is also not that hard to craft. To build it to perfection you need drywall screws, Bondo, sandpaper, primer(at least 1 liter), 2 pc 4mm MDF sheets, and 2 liters of S1500-N paint.
- Find the suitable throw distance: Calculate the throw distance.
- Select the spot: Find a place where you want your projector screen to install.
- Resize the MDF sheet: Once you are sure of the throw distance and the place where you want your projector screen to be, it’s high time to resize the MDF sheets according to your requirements.
- Bend the sheet taking help: Take help and bend the MDF sheet and make sure all the sides are level. It’s important to make sure the sides are as level as others you would not be able to prevent the screen from sagging from the middle.
- Put the sheet on the wall: Place the sheets on the wall and fix them making sure the MDF sheets meet in the middle of the screen.
- Do the finishing: Do some bonding and sanding.
- Paint: Apply an even layer of paint using a brush or paint roller and leave the screen to dry.
- Apply another coat of paint: Once the first paint coating is dried, apply another coat and leave it to dry as well.
You are done! There your curved screen is ready, when the screen is dry you can use it to watch movies like you would have watched on the real projector screen
4. DIY Wrapping Paper Projector screen
If none of the above-mentioned ideas have impressed you much, you can try crafting a DIY projector screen with high-quality wrapping paper as well.
For a wrapping paper projector screen, you need wrapping paper(thick and sturdy), a wooden frame, and tape.
- Calculate the length and width of the suitable projector screen size: Know the length and width of your projector screen and get a wooden frame build.
- Apply wrapping paper to make the screen: Now take the thick and sturdy wrapping paper and tape it to the wooden frame
- Your projector screen is done.
The wrapping sheet projector screen is not as durable as the other projector screens. Therefore, you have to be super careful as even the slightest wrinkle would affect the image. However, the wrapping sheet is quite cheap, when it gets wrinkled or damaged in any way, you can simply replace it with a new one and continue watching your favorite movies back to back.
5. DIY projector screen using Window shades
Though the shades projector screen is not a very popular idea. However, the shades can make a satisfactory projector screen as well. To make a DIY projector screen using shades, here’s what you have to do;
- Have the basic material to craft a screen: Take a pale gray or white colored roll-down shade. While purchasing the roll-down window shades, make sure these shades do not overlap by 6″. Otherwise, the light will bleed through the sides and you would end up wasting $25 to $50 spent on the shades.
- Install: Hang the roll-down shades where you want your projector screen to be
- There the DIY window shade projector screen is done.
6. DIY projector screen using picture backdrop
You might not know that the picture backdrop can also make a great projector screen as well.
The best thing about the backdrop of the picture is that it is quite durable, it would be easy to transport and you can use it for months.
The picture backdrop typically has a white, non-reflective surface with finished edges. So, you would not have to do much to turn it into a projector screen. All you have to do is unroll the backdrop of the picture and hang it up, your projector screen is ready.
Read also: Cinemark Vs AMC