Watching movies on a big screen in a movie theatre is an expensive hobby. That’s why most of us prefer building a little theatre in our little home sweet home.
All you need is a projector and a screen is not all that’s required to build a perfect little home theatre.
There needs to be a projector mount as well to get better and brighter image quality.
Since building a home theatre would burn a hole in your pocket, DIYing the projector mount would be a smart choice.
There are a hundred ways to craft a projector mount however the quickest, easiest, and cheapest ones are the following;
DIY Projector Mount Using a Board
To build the safest projector mount to perfection you need;
- Board
- Measuring tape
- Eye screw
- Lap link connector
- Eyebolts
- Drill press
Have all the supplies, and get set on the mission by measuring the projector’s length and width.
- Write the measurements on a paper
- Measure and mark the board, make sure the board is an inch or two wider and longer than the projector
- Cut the board to perfection
- Drill vertical holes at each corner of the board at the same distance, keep that in mind that the holes should be big enough to fit the eyebolts
- Hold up the recently cut board to the joist
- Mark through the joke exactly where you are going to install the eye screw
- Drill holes in the joists and begin installing the eye screw
- Take the lap link connector with needle nose pliers and join the eye bolt to the eye screw
- Place the projector and install it in a well-ventilated place
- Your job is done
DIY Projector Mount Using Hinges
Yes, you have to believe your eyes, a projector mount using hinges. If you are low on budget, this DIY projector mount is the best bet. To make a DIY projector mount using hinges, this is what you need
- Hand saw
- Drill
- Scrap plastic or wood
- Constant torque position control hinges
Now that you have got everything you might need to mount a projector to perfection;
- Find a suitable well-ventilated place
- Mark out the position of the mounting holes on the screwed plastic or metal board leaving enough space between the board and the projector for the heat passage
- Drill holes on the end of the pipe to mount the hinges
- Drill another hole in the centre of the mount board(this is to attach the hinges to the board)
- Find a suitable direction to install the projector
- Attach the pipe to the floor flange
- Mark the mounting hole on the flange on the ceiling
- Detach the flange
- Reinstall the flange using screws and the drywall anchors
- Get done with the job by installing the projector on the flange
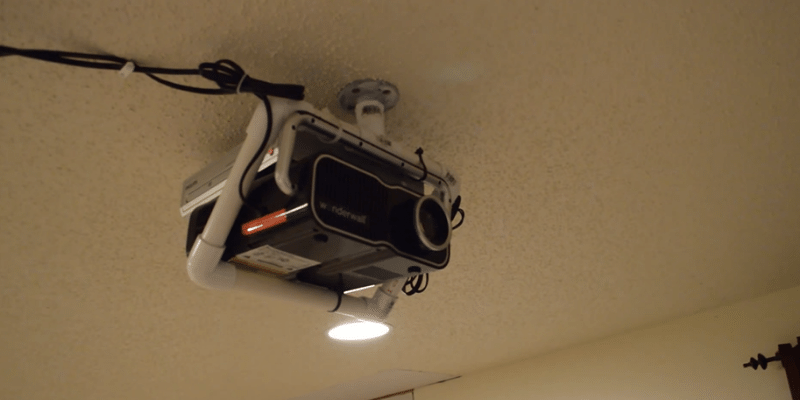
DIY Projector Mount Using PVC Pipe
If none of the above-mentioned DIY projectors is up to the mark, try considering this DIY mount. To build a projector yourself, have a
- PVC pipe
- ¾” PVC tee
- ¾” 90 degrees PVC elbow
- ½” thread male adapter
- Cable ties
- Superglue
Since you have gathered all the supplies, here is what you need to do;
- Take and PVC cutting tool and get set to cut the PVC pipe into pieces; two ¾”, two 3/6″, 1 10″, and one 1″ pieces
- Slide and fix the 3/6″ pieces into the tee fitting using glue
- Glue the four elbows fitting together making a square shape
- Fix the 1” piece to the tee fitting as well
- Screw the floor flange fitting to the ceiling
- Thread the PVC bracket into it
- Install the projector and get done
DIY Projector Mount Using Wooden Board
Since finding the easiest, quickest, and cheapest DIY mount project is your concern, here’s the answer. You need a
- Drill
- Measuring tape
- Woodcutter
- Wooden board
- Screw

Get set on the projector mount mission
- Measure and mark the wooden board making sure it is a bit wider and longer than the projector
- Cut the wooden board using the woodcutter
- Drill holes in the wooden board to fit the hinges
- Screw the board to the ceiling and place the projector to have your little home theatre
The DIY Projector Mount Using Plywood
Plywood is a multi-purpose wood-based panel that is manufactured using thin layers or plies of wood veneer.
This wood-based panel can be used to build a versatile projector mount as well. To build a projector mount using plywood have the following supplies;
- Four pieces of plywood
- Notches
To build the projector mount, follow the following instructions
- Cut the four pieces of plywood; two for the top and bottom and two for the sides
- Create notches using the CNC router and hand mil
- Use the notches to hold the platform
- Fix the platform in the notches and place the projector making sure there is some space for the heat to pass
These were the few DIY projector mounts projectors that even a naive person can do. Frankly building a projector mount is not tricky, mounting the projector is. Since you have been planning to build a mount and mount the projector, here is what you need to be careful with while mounting the projector;
How to Mount the Projector?
Building a perfect projector mount does not guarantee that you will get a brighter and clearer image. To get a better clearer image, it is important to mount the projector in the right place.
So you have to decide first where your screen needs to be. Once the placement of the screen is decided, install the projector mount and the projector accordingly.
Now the trick question is where should the projector mount be installed?
- Measure the length and width of the screen
- Calculate and determine the projector’s throw distance
- Find out the projector’s verticle offset
- Determine the horizontal lens shift
- Find a suitable place taking into account the screen length, width, and throw distance
- Build the projector mount following any of the above-mentioned projects
- secure the projector to the place
- Carefully place the projector
- Secure the calling plugin in the switch to the power source
- Turn on the project and enjoy.