No matter whether beginner or skilled, artists of all skill levels find it convenient to trace art with a projector. Especially, recreating an enlarged version of the image or art is extremely challenging. Without a projector, artists have to spend a lot of time and energy to recreate small images and details onto a larger canvas.
Projectors are handy tools for practicing art, painting walls with attention-grabbing art, and working on multiple art projects. It allows an artist to trace, practice, and draw skillfully on a wall-sized canvas.
How to Use a Projector to Trace Art?
Many popular artists rely on projectors to project enlarged images for creating wall art, murals, and portraits. Although it is easy to enlarge and trace out images, many amateurs and first-timers fail to follow the specific guidelines and end up ruining the artwork.
Here is a step-by-step guide to tracing art using a projector.
- Set-Up Projector
- Begin Tracing Art
- Finish Trace Step
1. Set-Up Projector
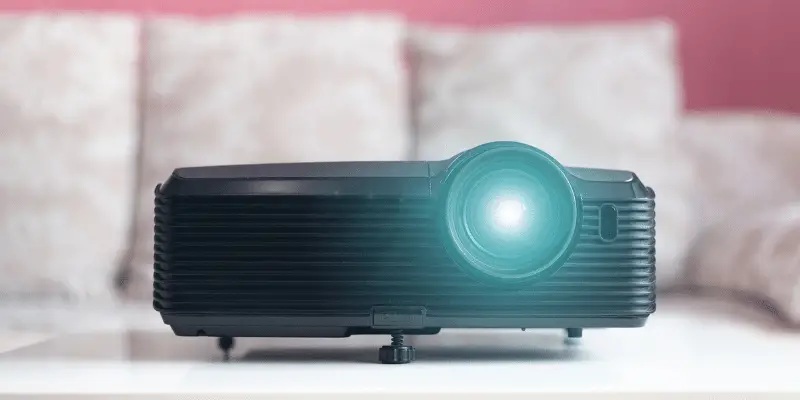
Setting up a projector for tracing can be daunting for newbies. One tip to remember, place the projector father away depending on how large the image you want to project.
- Find the Image – First off, download the image you want to install, print it on a transparency, and let it dry. Next, place the printed image over the screen of the projection unit.
- Prepare Background For Tracing – If it is wall art, there is not much preparation required. For portraits or drawings, the artist has to set up a canvas or drawing board.
- Set Up the Projector – Place the projector at the desired height and distance to project an image that fits the drawing board. Adjusting the stand will allow users to get desired projection.
- Turn the Lights Off – Draw curtains and turn off all lights to block all light sources to maximize clarity.
2. Begin Tracing Art
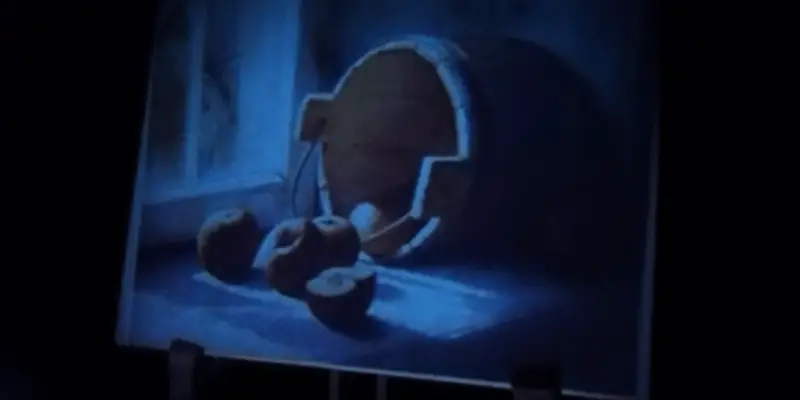
After the projector is set up, begin tracing the art using dark pencils. Start by tracing the image outlines carefully, and stand either to the left or right to avoid blocking the projection. Kodak Luma 150 is best for art tracing.
Keep checking the progress and if you are tracing right by turning on the lights or by blocking projection. Remember to not move the drawing board if you do not want to ruin the progress you have made so far.
3. Finish Trace Step
Once the image is traced, turn on the bright light to move to the next step, finishing. Add features, colors, details, and shadows to finish the artwork.
Frequently Asked Questions (FAQs)
Can you use a projector to trace an image?
Yes, projectors are widely used by artists to trace images and wall art. After setting up the projector, artists can outline the projected images with small and careful strokes.
Is it okay to use a projector for art?
Ideally, many artists use projectors to trace art and draw enlarged images onto large canvases and walls.
Conclusion
A projection unit will make tracing the artwork easier than any other method. Especially, new artists can improve their drawing and tracing skills using projectors.